

Drip edges are essential components of any roofing system, especially metal roofs, acting as a vital barrier against water damage. Placed along the edges of your roof, they direct water away from the fascia and underlying structures, preventing rot, mold, and costly repairs. This comprehensive guide will delve into the world of drip edges, covering everything from types and installation to cost considerations and maintenance tips, ensuring you’re well-equipped to protect your home.
What is a Drip Edge and Why Do You Need One?
A drip edge is a metal flashing installed at the edges of your roof, specifically the eaves (the lower edge) and rakes (the sloped sides). Its primary function is to provide a physical barrier that guides water away from the fascia board – the vertical board running along the roof’s edge. Without a drip edge, water can seep behind the gutters and directly onto the fascia, leading to:
- Rot and Decay: Constant exposure to moisture causes wood to rot, weakening the structure of your roof.
- Mold and Mildew Growth: Damp environments are breeding grounds for mold and mildew, which can damage building materials and pose health risks.
- Insect Infestation: Rotting wood attracts insects like termites, which can cause significant structural damage.
- Peeling Paint: Moisture trapped behind the fascia can cause paint to blistered, detracting from your home’s appearance.
- Compromised Roof Lifespan: Addressing these problems early prevents bigger more serious problems.
- Ice Dams: In colder climates water that’s melted from a warm roof can refreeze when it runs past the edge creating a larger mass of ice called an ice dam.
Beyond preventing these issues, drip edges contribute to a more professional and finished look for your roof. They are a small investment that can save you significant money and headaches in the long run, significantly increasing the roof’s overall roof lifespan.
Understanding the Different Drip Edge Profiles
Drip edges come in various profiles, each designed for specific applications and offering unique advantages. Here are the most common types:
- Type C (or “D”) Drip Edge: This is the most common type, featuring a flat section that lies on the roof deck, a bend that goes over the roof edge, and a small flange that extends downwards to direct water away from the fascia. The “D” variation typically has a longer flange than the “C”. This is a great metal roof accessory to add.
- Type T Drip Edge: This type has a T-shaped profile. It’s installed underneath the roofing material and extends down over the fascia. It can be a good option for existing roofs where you don’t want to disturb the roofing material too much.
- Hemmed Drip Edge: Hemmed drip edges feature a folded-over edge (the “hem”). This hem adds rigidity and prevents the edge from being sharp, making it safer to handle during installation. Hemmed edges are more resistant to bending and damage.
Choosing the right drip edge profile depends on your roof’s design, the type of roofing material, and your specific needs. Consult with a roofing professional to determine the best option for your situation. Understanding the roof edge profiles for metal roofing can give you insight into what type of edging you’ll need to install.
Need reliable roofing services? Whether it’s repairs, replacements, or new installations, we’ve got you covered! Quality workmanship at affordable rates. Call us now for a free estimate and protect your home with the best!
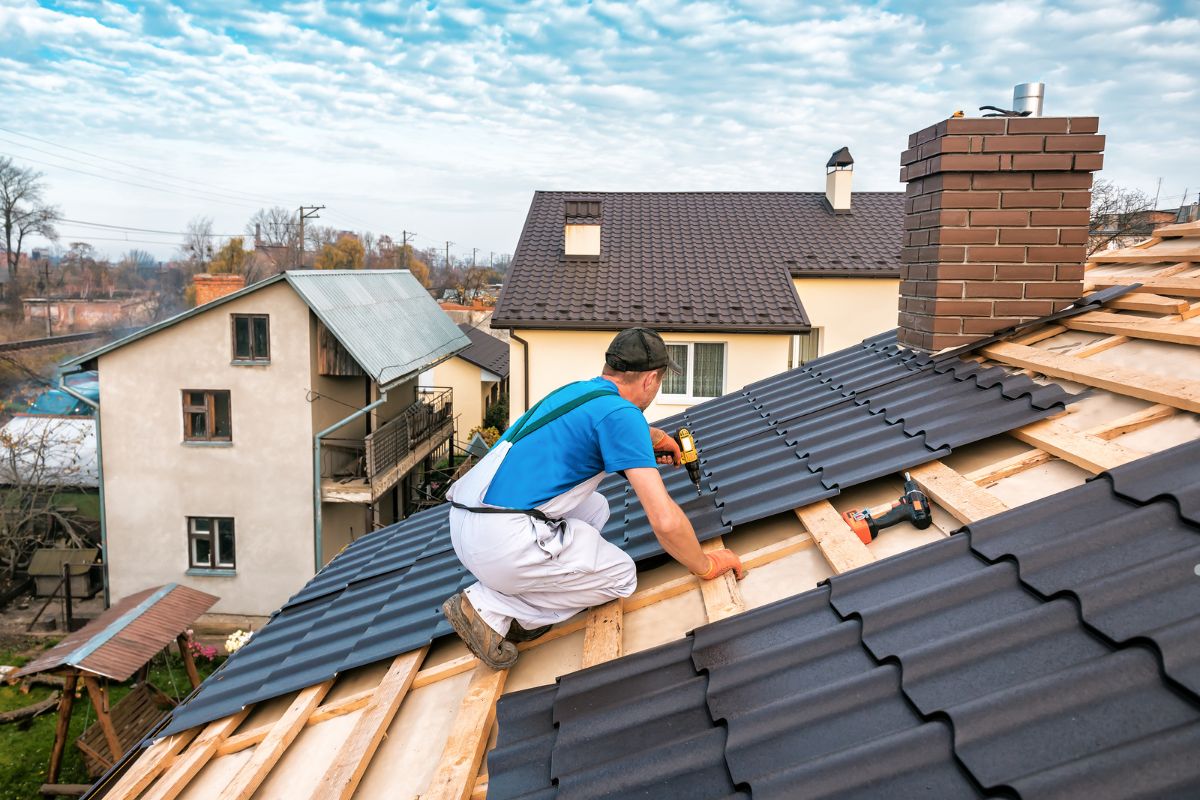
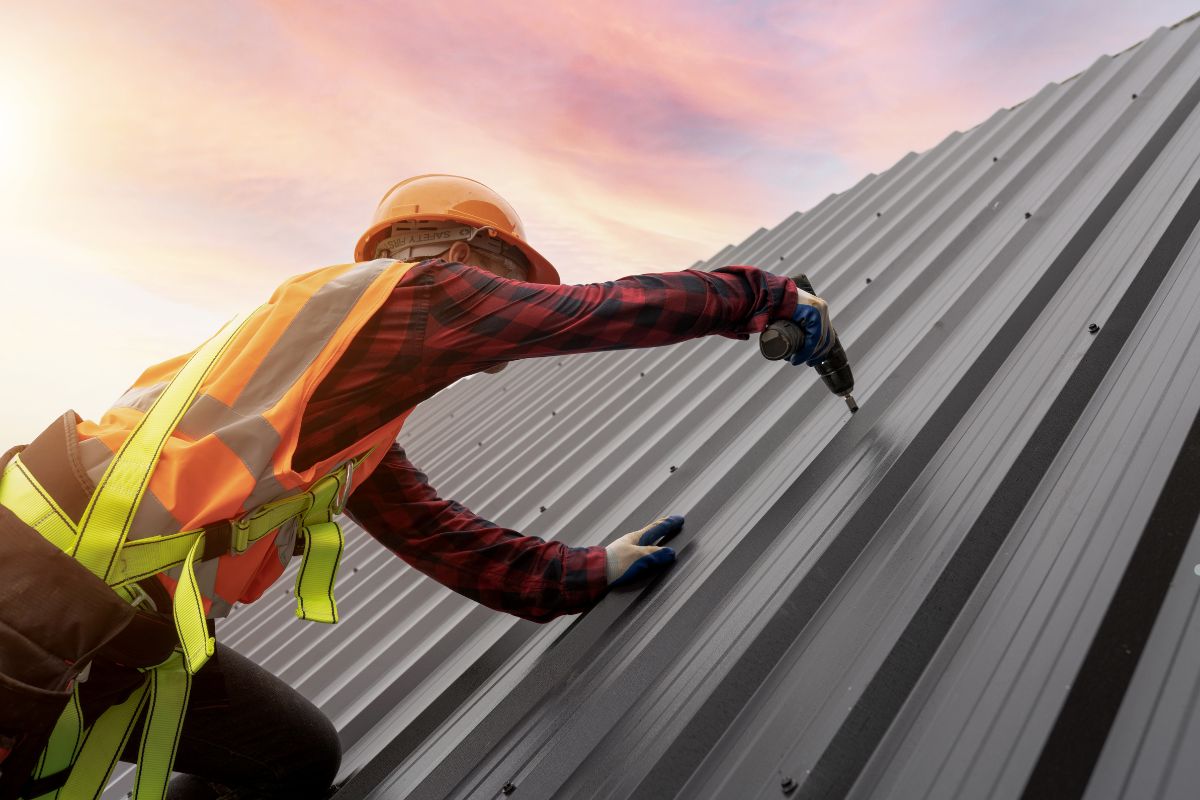
How to Install Drip Edge on a Metal Roof
Installing a drip edge on a metal roof is a manageable project for experienced DIYers. However, if you’re uncomfortable working at heights or lack roofing experience, it’s best to hire a professional. Here’s a step-by-step guide:
Tools and Materials Needed:
- Drip edge (Type C/D, Type T, or Hemmed, depending on your needs)
- Roofing nails or screws (compatible with metal roofing)
- Hammer or drill
- Measuring tape
- Tin snips or metal shears
- Safety glasses
- Gloves
- Ladder
- Sealant (optional, for sealing overlaps)
Step-by-Step Installation Guide (Eaves):
- Prepare the Eaves: Ensure the eaves are clean and free of debris.
- Position the Drip Edge: Place the drip edge along the eave, ensuring it extends slightly beyond the edge of the roof deck and covers the top edge of the fascia board.
- Fasten the Drip Edge: Use roofing nails or screws to secure the drip edge to the roof deck. Space the fasteners every 12-18 inches.
- Overlap Sections: When joining sections of drip edge, overlap them by at least 2 inches. Seal the overlap with roofing sealant for added protection.
Step-by-Step Installation Guide (Rakes):
- Prepare the Rakes: Clean the rake edges and ensure they are free of debris.
- Position the Drip Edge: Place the drip edge along the rake, ensuring it extends beyond the edge of the roof deck and covers the edge of the fascia. Rake drip edges generally install over the underlayment, but under the metal panels, while the drip edges at the eaves install under the underlayment.
- Fasten the Drip Edge: Use roofing nails or screws to secure the drip edge to the roof deck, spacing the fasteners every 12-18 inches.
- Overlap Sections: Overlap sections by at least 2 inches and seal the overlap with roofing sealant.
Important Considerations During Installation:
- Overlap: Ensure proper overlap between sections to prevent water from seeping through.
- Fasteners: Use fasteners compatible with your metal roofing to prevent corrosion.
- Safety: Always wear safety glasses and gloves when working with metal.
- Underlayment: Correct order to prevent issues regarding roof flashing.
Explore our services for expert roofing solutions, including drip edge installation, repairs, and maintenance to protect your home from water damage.
Drip Edge Cost and Maintenance Tips
The cost of drip edge varies depending on the material, profile, and the length required for your roof.
Factors Affecting Drip Edge Cost:
- Material: Aluminum is typically less expensive than steel or copper.
- Profile: More complex profiles may cost more.
- Gauge: Thicker (lower gauge) metal will cost more.
- Length: The total length required for your roof will directly impact the cost.
- Labor: If you hire a professional installer, labor costs will be a significant factor.
Drip Edge Maintenance:
- Regular Inspection: Inspect your drip edges regularly for signs of damage, such as dents, rust, or loose fasteners.
- Clean Debris: Remove leaves, twigs, and other debris that can accumulate on the drip edges and block water flow.
- Seal Gaps: Seal any gaps or cracks in the drip edge with roofing sealant to prevent water penetration.
When to Replace Your Drip Edge:
- Severe Damage: Replace drip edges that are severely damaged, such as those with large dents, rust, or corrosion.
- Loose or Missing Sections: Replace any loose or missing sections of drip edge.
- Water Leaks: If you notice water leaks around the eaves or rakes, the drip edge may need to be replaced.
Keeping up with regular maintenance will extend the life of your metal roof cost and ensure everything is working properly.
Drip Edge Guide for Metal Roofing: Protect your home from water damage with the right installation and maintenance. Need expert advice? Call us now for a free consultation and ensure your roof stays durable and leak-free!
Troubleshooting Common Drip Edge Issues
Even with proper installation and maintenance, drip edges can sometimes experience problems. Here are some common issues and their solutions:
- Drip Edge Coming Loose: This can happen due to wind, ice, or improper installation. Tighten loose fasteners or replace them with longer ones. If the drip edge is significantly damaged, replace the entire section.
- Rust and Corrosion: Rust and corrosion can occur, especially in coastal areas. Clean the affected area with a wire brush and apply a rust-inhibiting primer and paint. For severe corrosion, replacement may be necessary. Using aluminum or galvanized steel can help prevent rust in the first place.
- Improper Installation Issues: This can lead to water leaks and other problems. Remove the improperly installed drip edge and reinstall it correctly, ensuring proper overlap and fastening.
Address these issues promptly to prevent further damage to your roof and home.
Concerned about drip edge repair? Let our professionals assess your situation. Call us [Call us] today to schedule an appointment!
Drip Edge vs. Gutter Apron: What’s the Difference?
While both drip edges and gutter aprons serve to protect the fascia and direct water away from the roof, they have distinct differences. A drip edge is installed along the eaves and rakes to prevent water from running behind the gutter and onto the fascia. A gutter apron, on the other hand, is specifically designed to bridge the gap between the roof and the gutter, ensuring that water flows directly into the gutter.
In many cases, both drip edges and gutter aprons can be used together for optimal protection. The drip edge protects the fascia from water running behind the gutter, while the gutter apron ensures efficient water flow into the gutter system.
Frequently Asked Questions About Drip Edges
Here are some frequently asked questions about drip edges:
Is a drip edge required by code?
Building codes regarding drip edges can vary by location. Check with your local building department to determine the specific requirements in your area. In many jurisdictions, drip edges are required for all new construction and roof replacements.
What is the best material for a drip edge?
The best material for a drip edge depends on your budget, climate, and aesthetic preferences. Aluminum is a cost-effective and durable option, while steel offers superior strength and resistance to denting. Copper provides a classic look and is highly resistant to corrosion.
How long does a drip edge last?
With proper installation and maintenance, a drip edge can last for many years. Aluminum drip edges typically last for 20-30 years, while steel and copper drip edges can last even longer.
CTA Suggestion: Do you have more questions about drip edges? Contact our knowledgeable team today for expert answers and personalized advice. [Call us]
Protecting Your Home with a Properly Installed Drip Edge
A drip edge is a small but crucial component of your metal roofing system, playing a vital role in protecting your home from water damage. By understanding the different types of drip edges, proper installation techniques, and maintenance tips, you can ensure your roof provides reliable protection for years to come. Consider consulting with a qualified roofing contractor for professional installation and repairs. A roofing inspection can ensure you understand how you can prevent water damage.
Protect your home with expert roofing services! From repairs to installations, we ensure durability and quality. Get a free estimate today. Contact us now . Reliable, affordable, and built to last!